Accessories: Completing the System
The frame is just the beginning. The true utility of a power rack comes from its accessories. Do not make the mistake of buying a “bare bones” rack only to realize you need specific add-ons later.

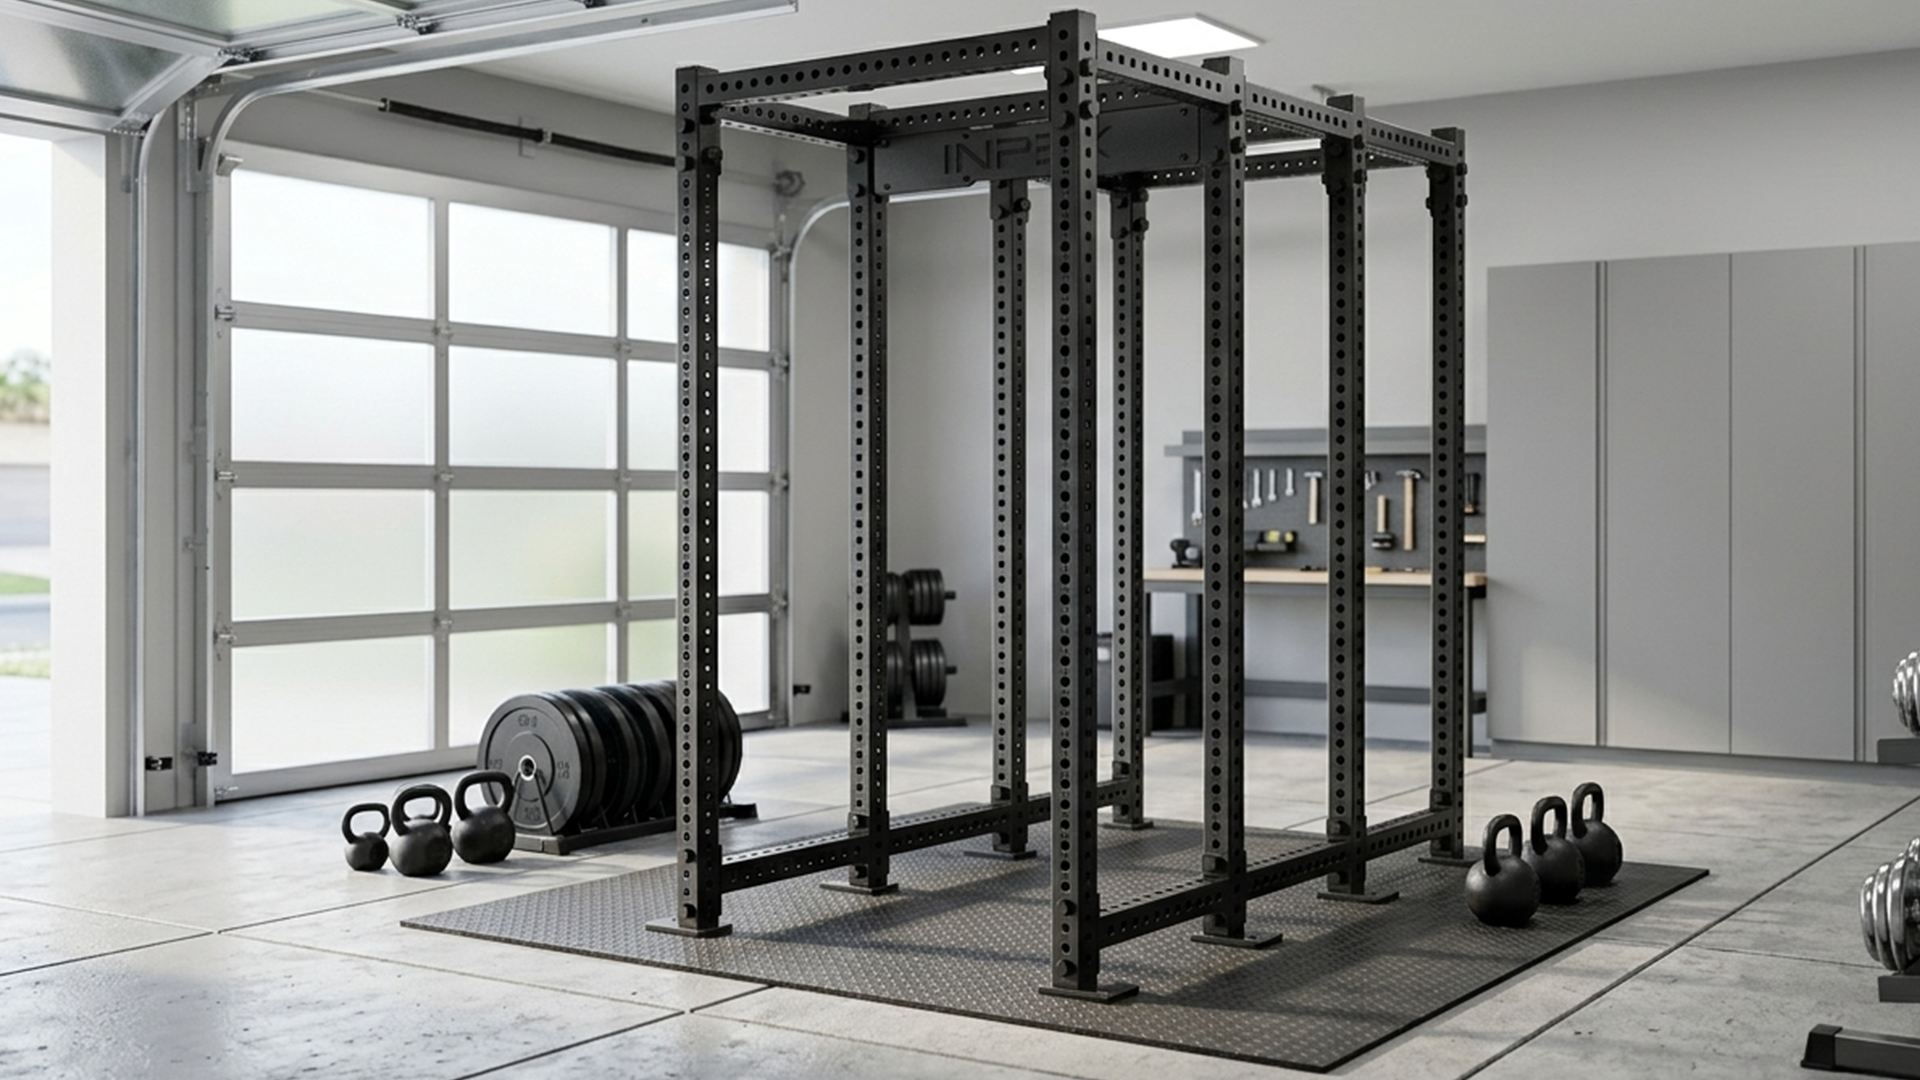
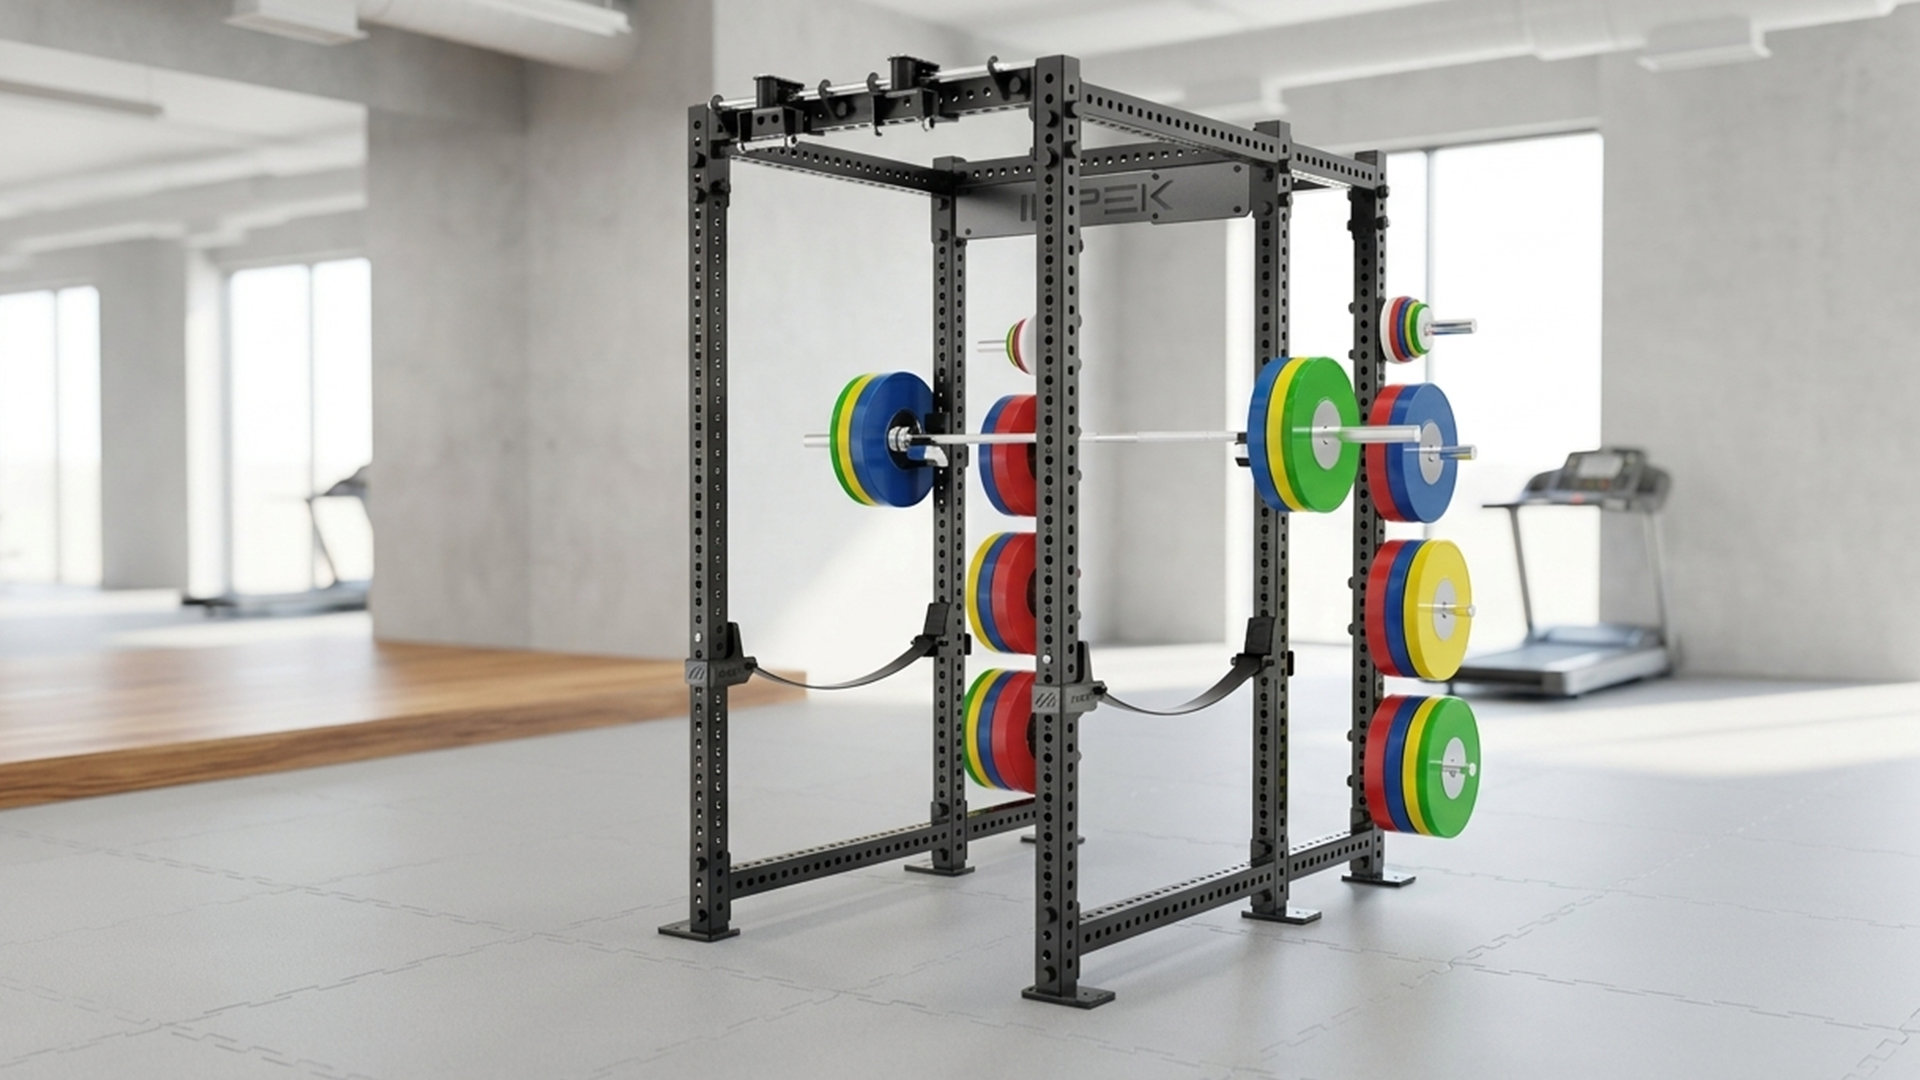
If you have a dedicated garage or a spacious basement, the full power rack is the gold standard. It consists of four vertical posts connected by top and bottom frame beams. This design offers maximum stability and width, allowing for freedom of movement during heavy squats and bench presses. If you have the room, this is the safest and most versatile choice.
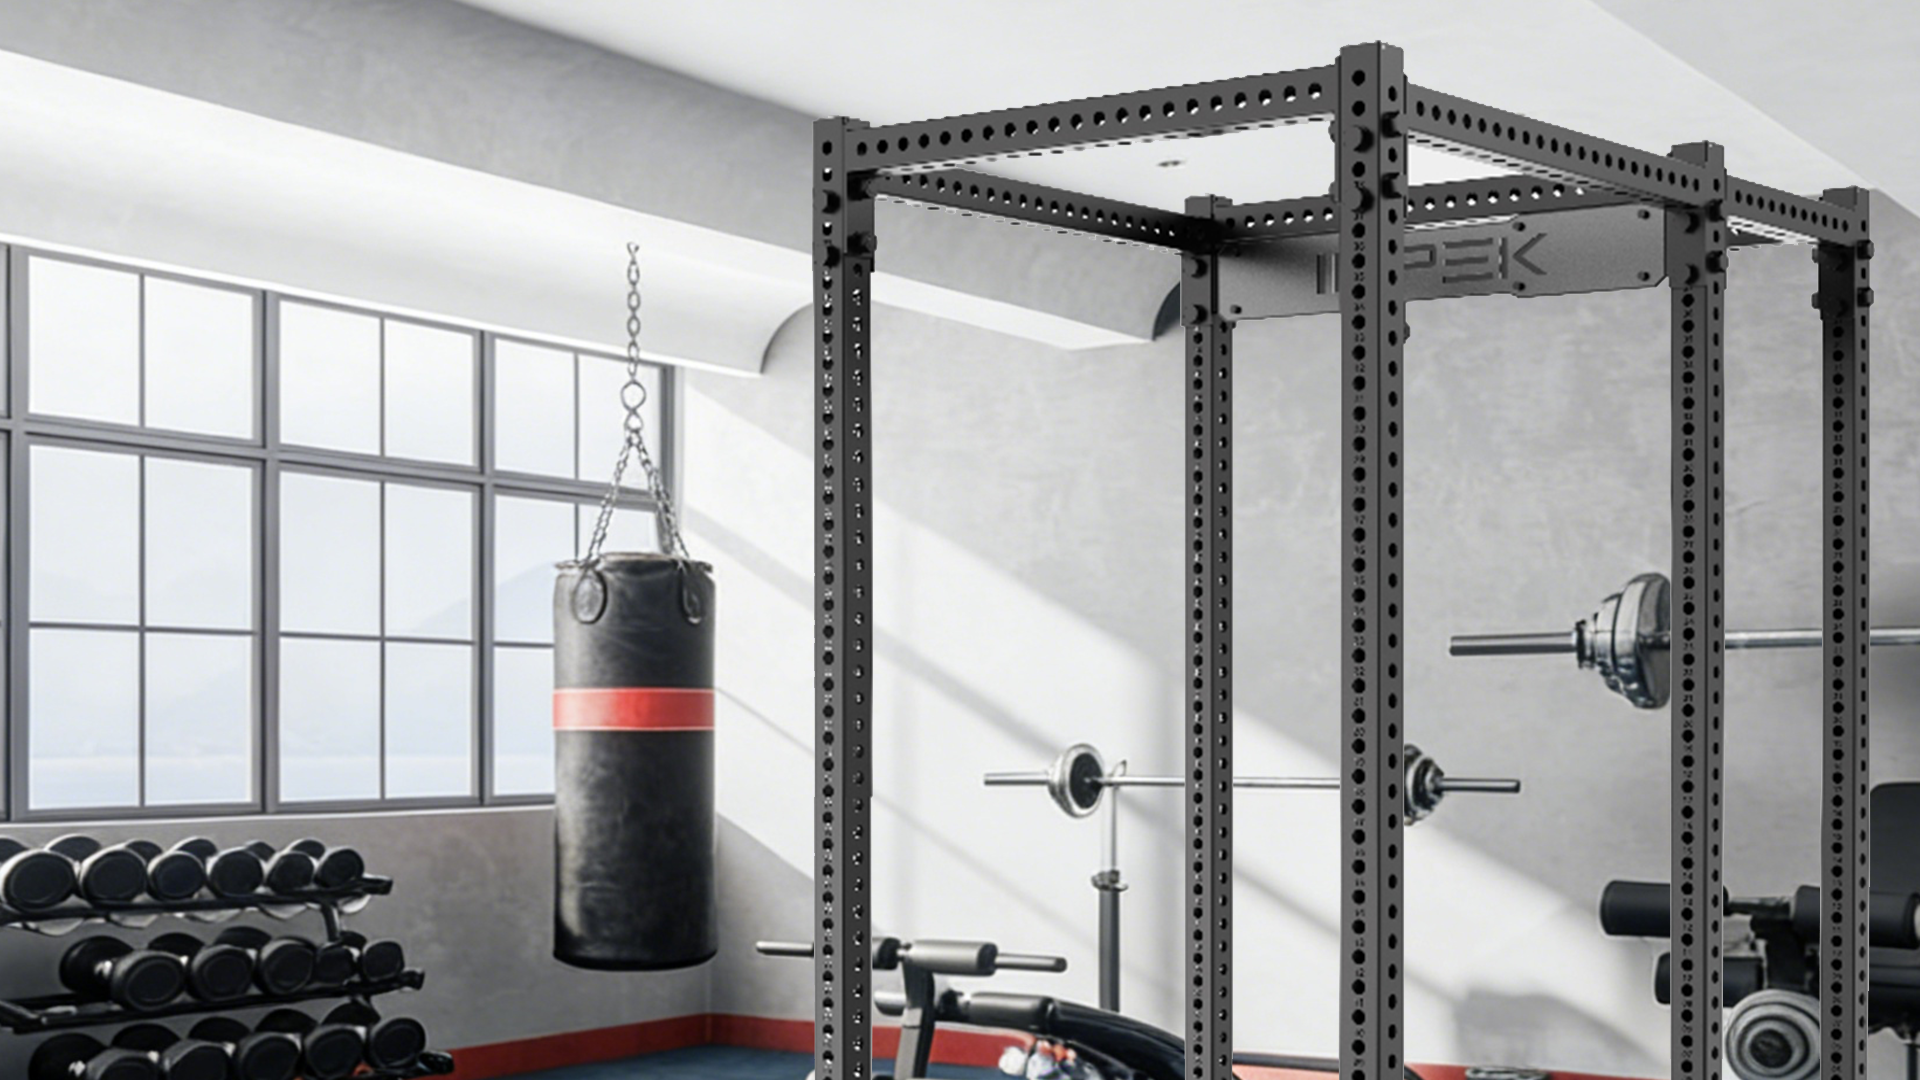
For many home gym owners, space is a luxury. If you are working with a tighter footprint, a half rack is an excellent compromise. It uses three vertical posts, with one side open. You still get the safety 杆 and J-cups for lifting, but the open design saves floor space and makes the room feel less claustrophobic. It is often the ideal choice for a multi-purpose garage gym where the car needs to fit back in at night.
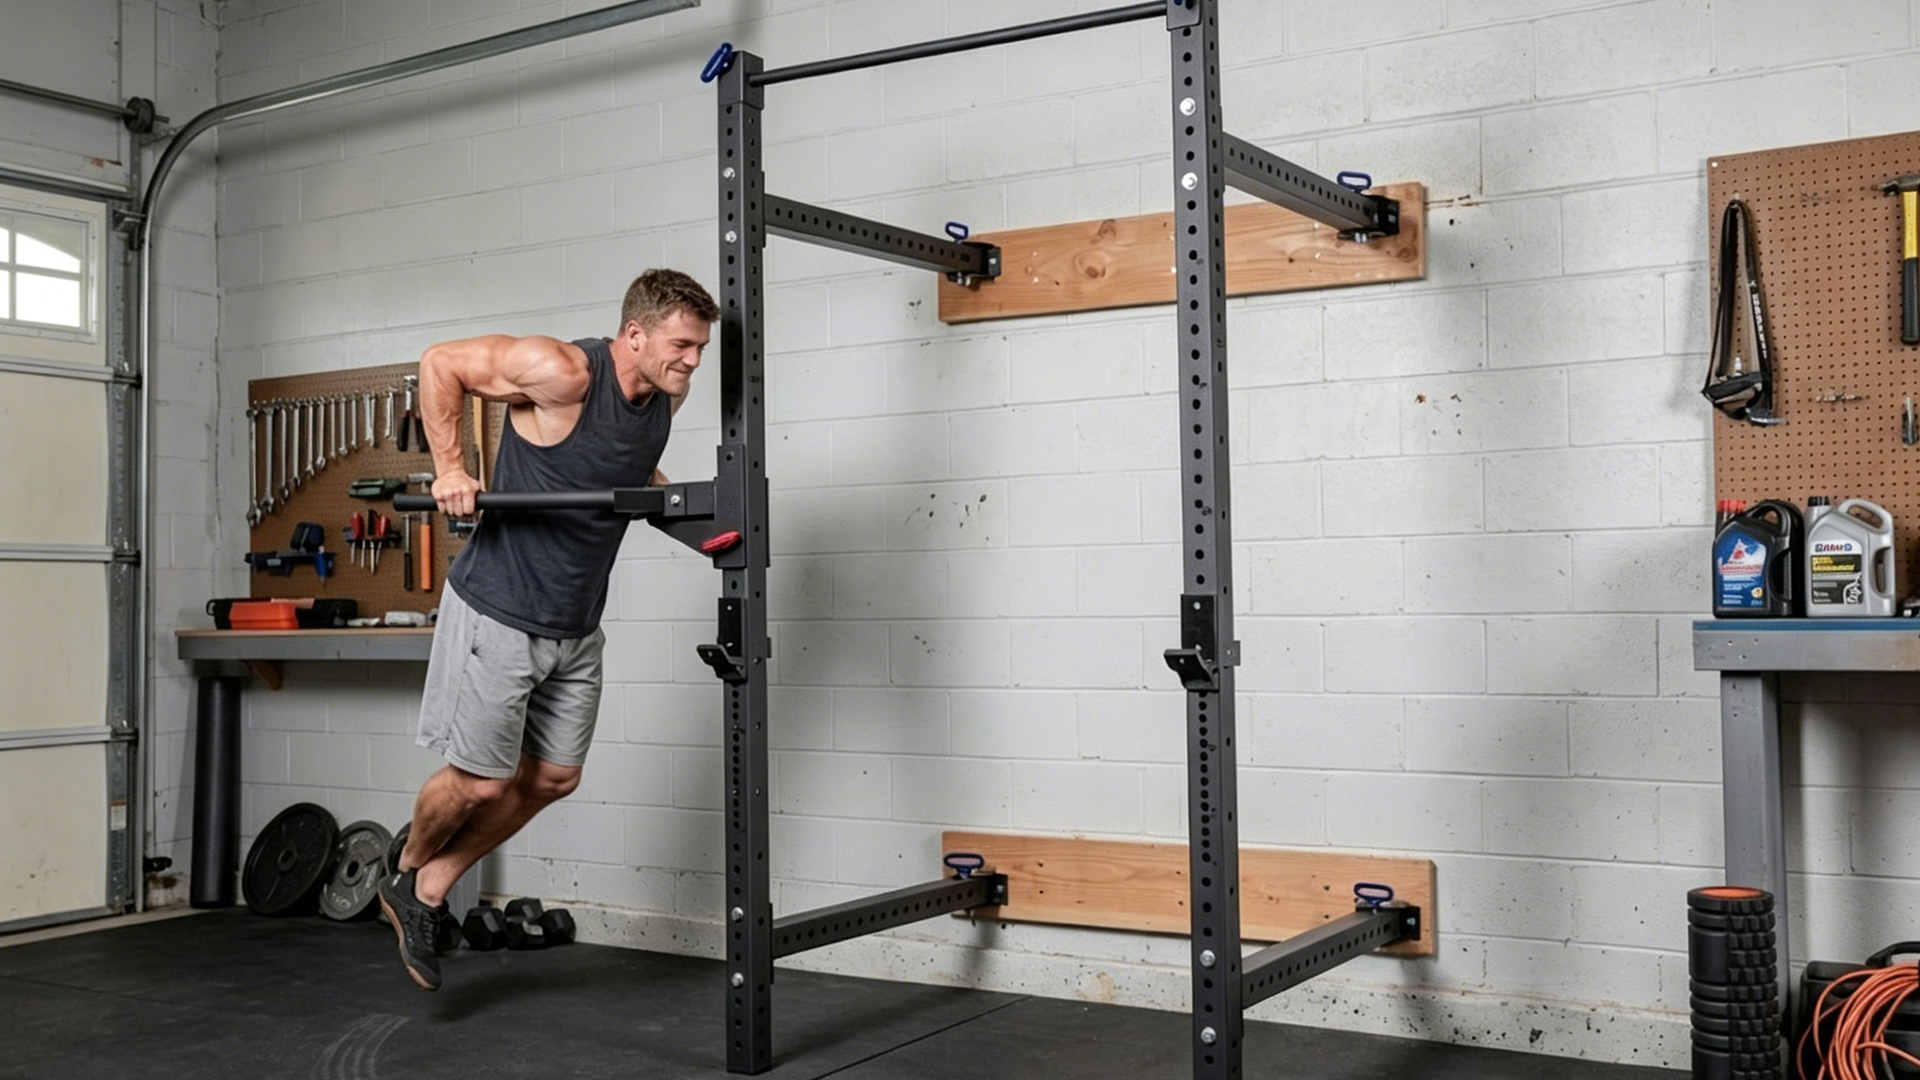
If you are in an apartment or a small room, a floor-standing rack might be impossible. A wall-mounted power rack secures directly to the wall studs. When not in use, some models even fold away. While incredibly space-efficient, you must ensure your wall can support the lateral force of heavy racking and re-racking.
Your training style dictates the engineering requirements of the rack. Are you training to be a powerlifter, or are you focused on bodybuilding and general fitness?
11-Gauge (3mm): The industry standard for serious lifters. It is heavy, solid, and feels immovable.
12 or 14-Gauge: Lighter and often cheaper. These may shake slightly during heavy lifts, which can be distracting or unsafe.
Additionally, powerlifters should look for 1-inch hole spacing on the uprights. Cheaper racks often use 2-inch spacing, which makes it difficult to find the perfect height for the bar. Precise adjustments are crucial when you are handling maximum weights.
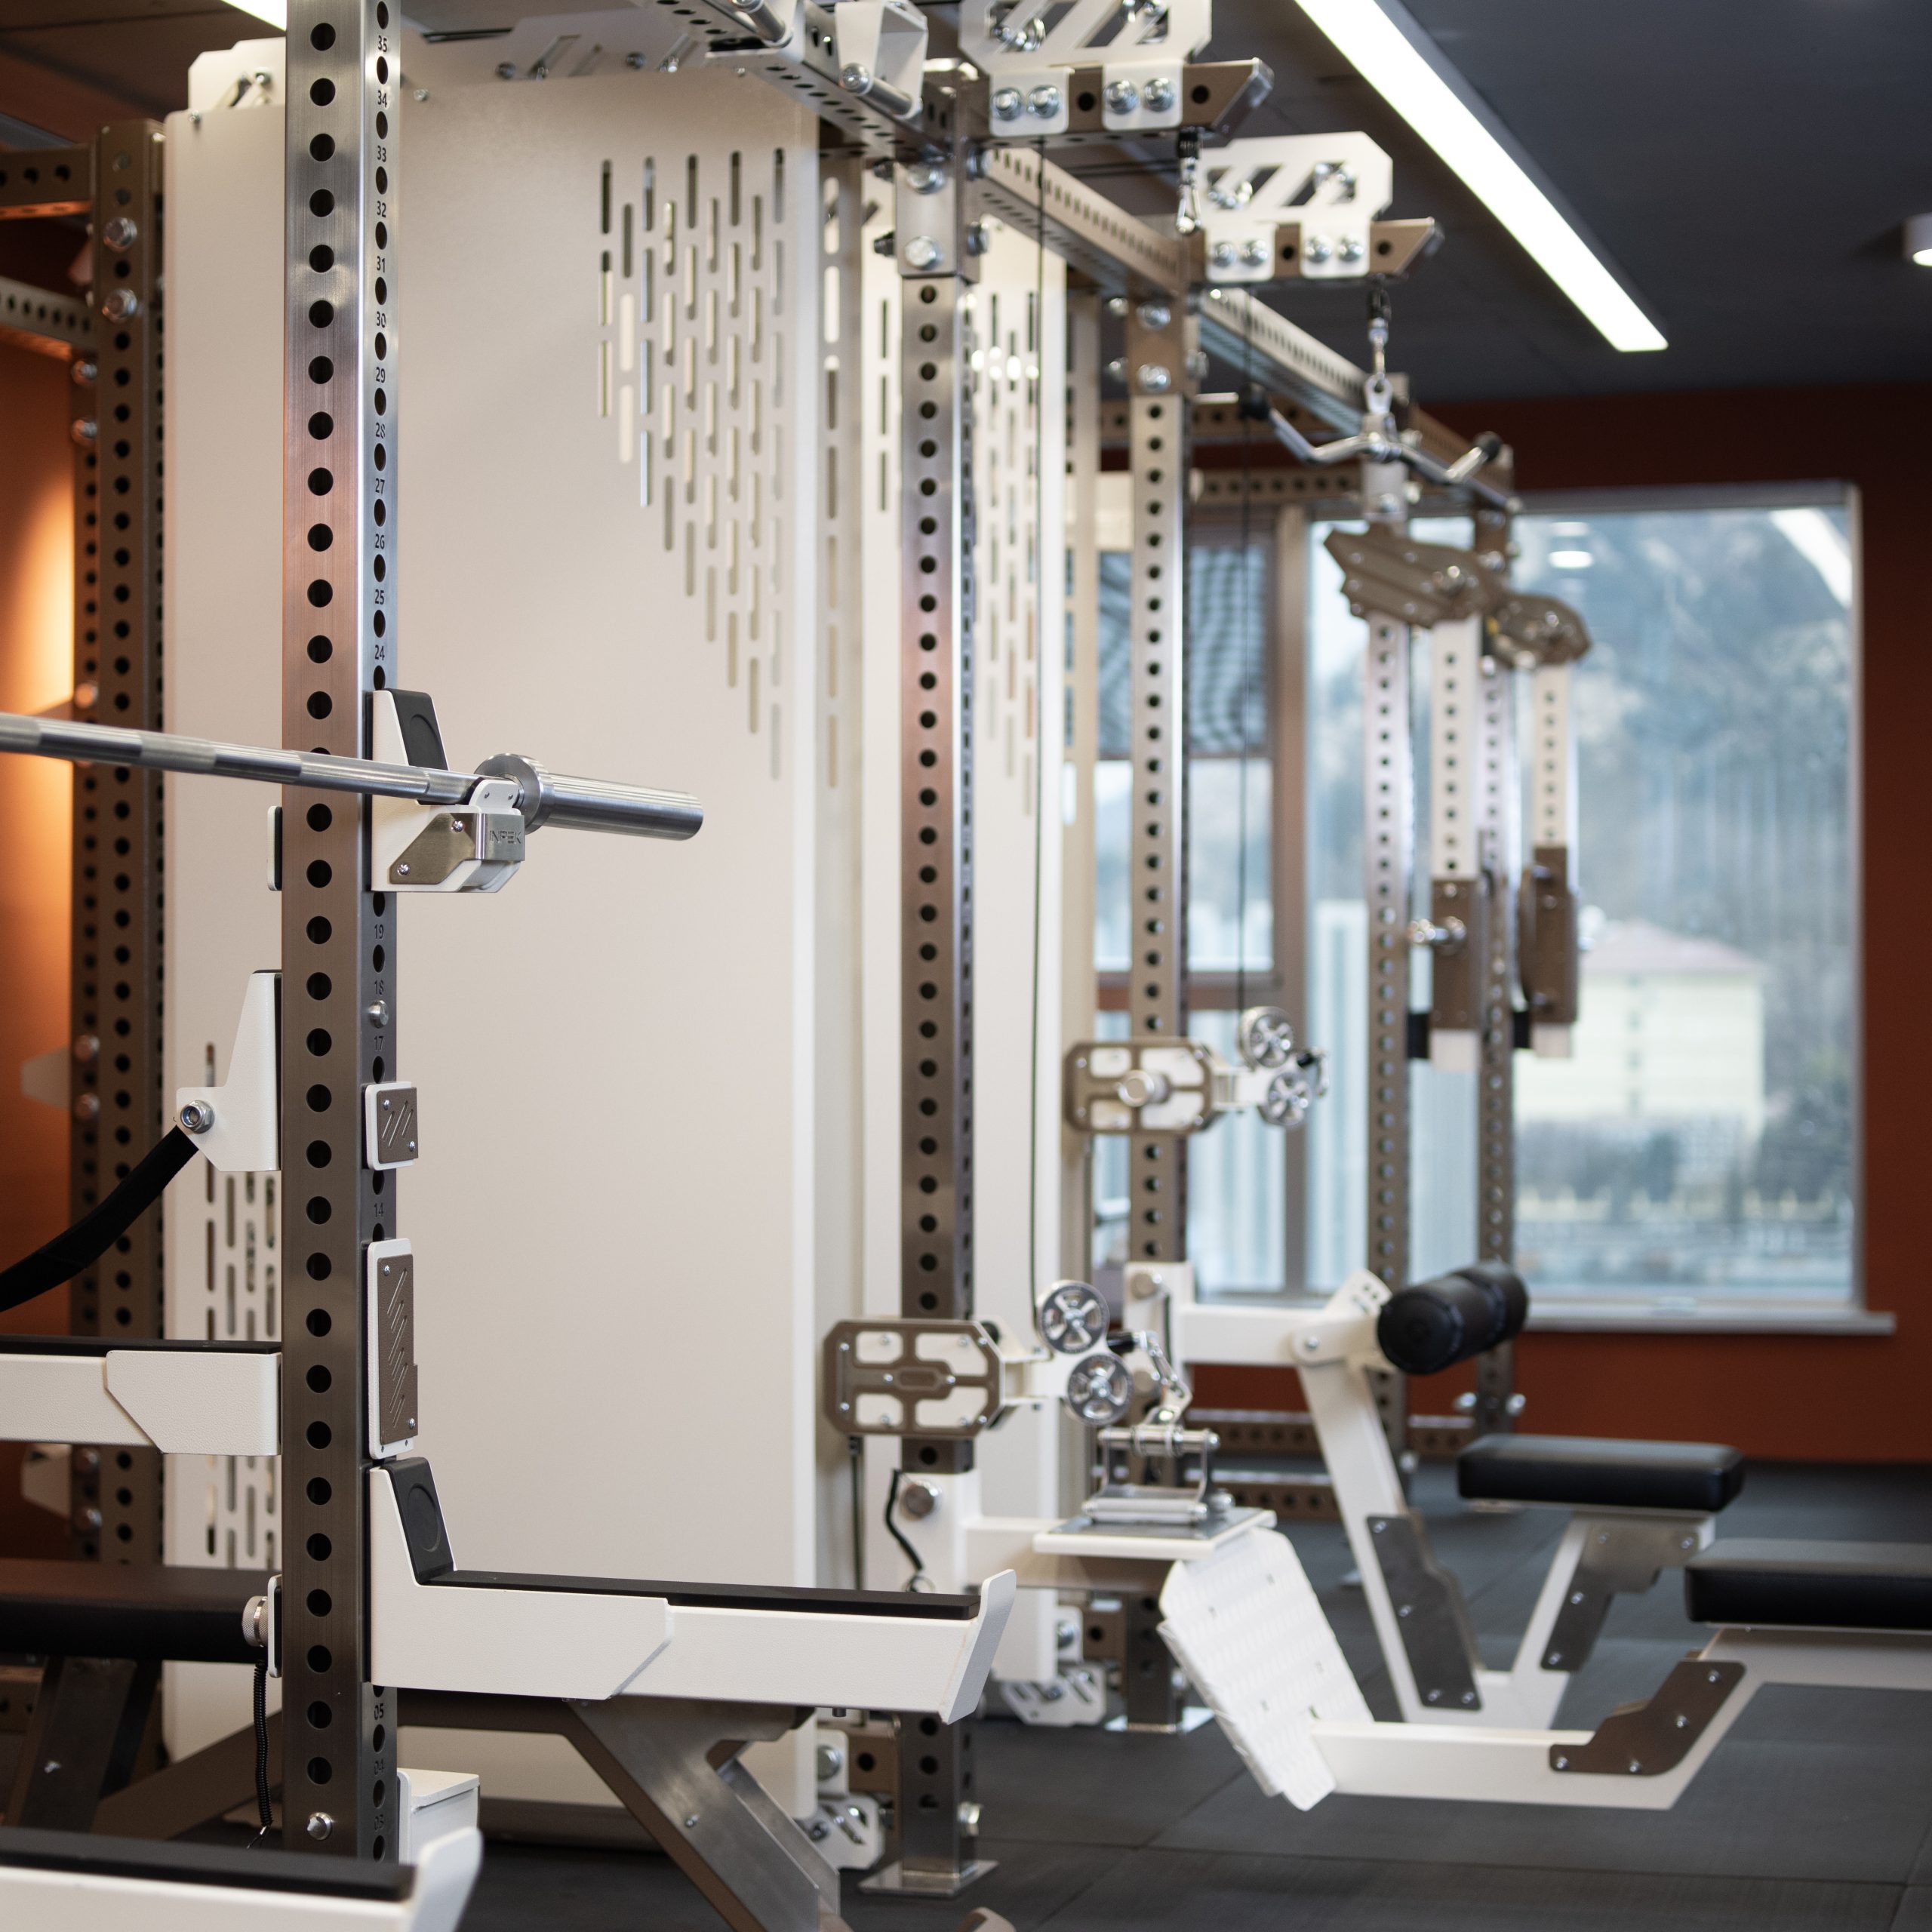
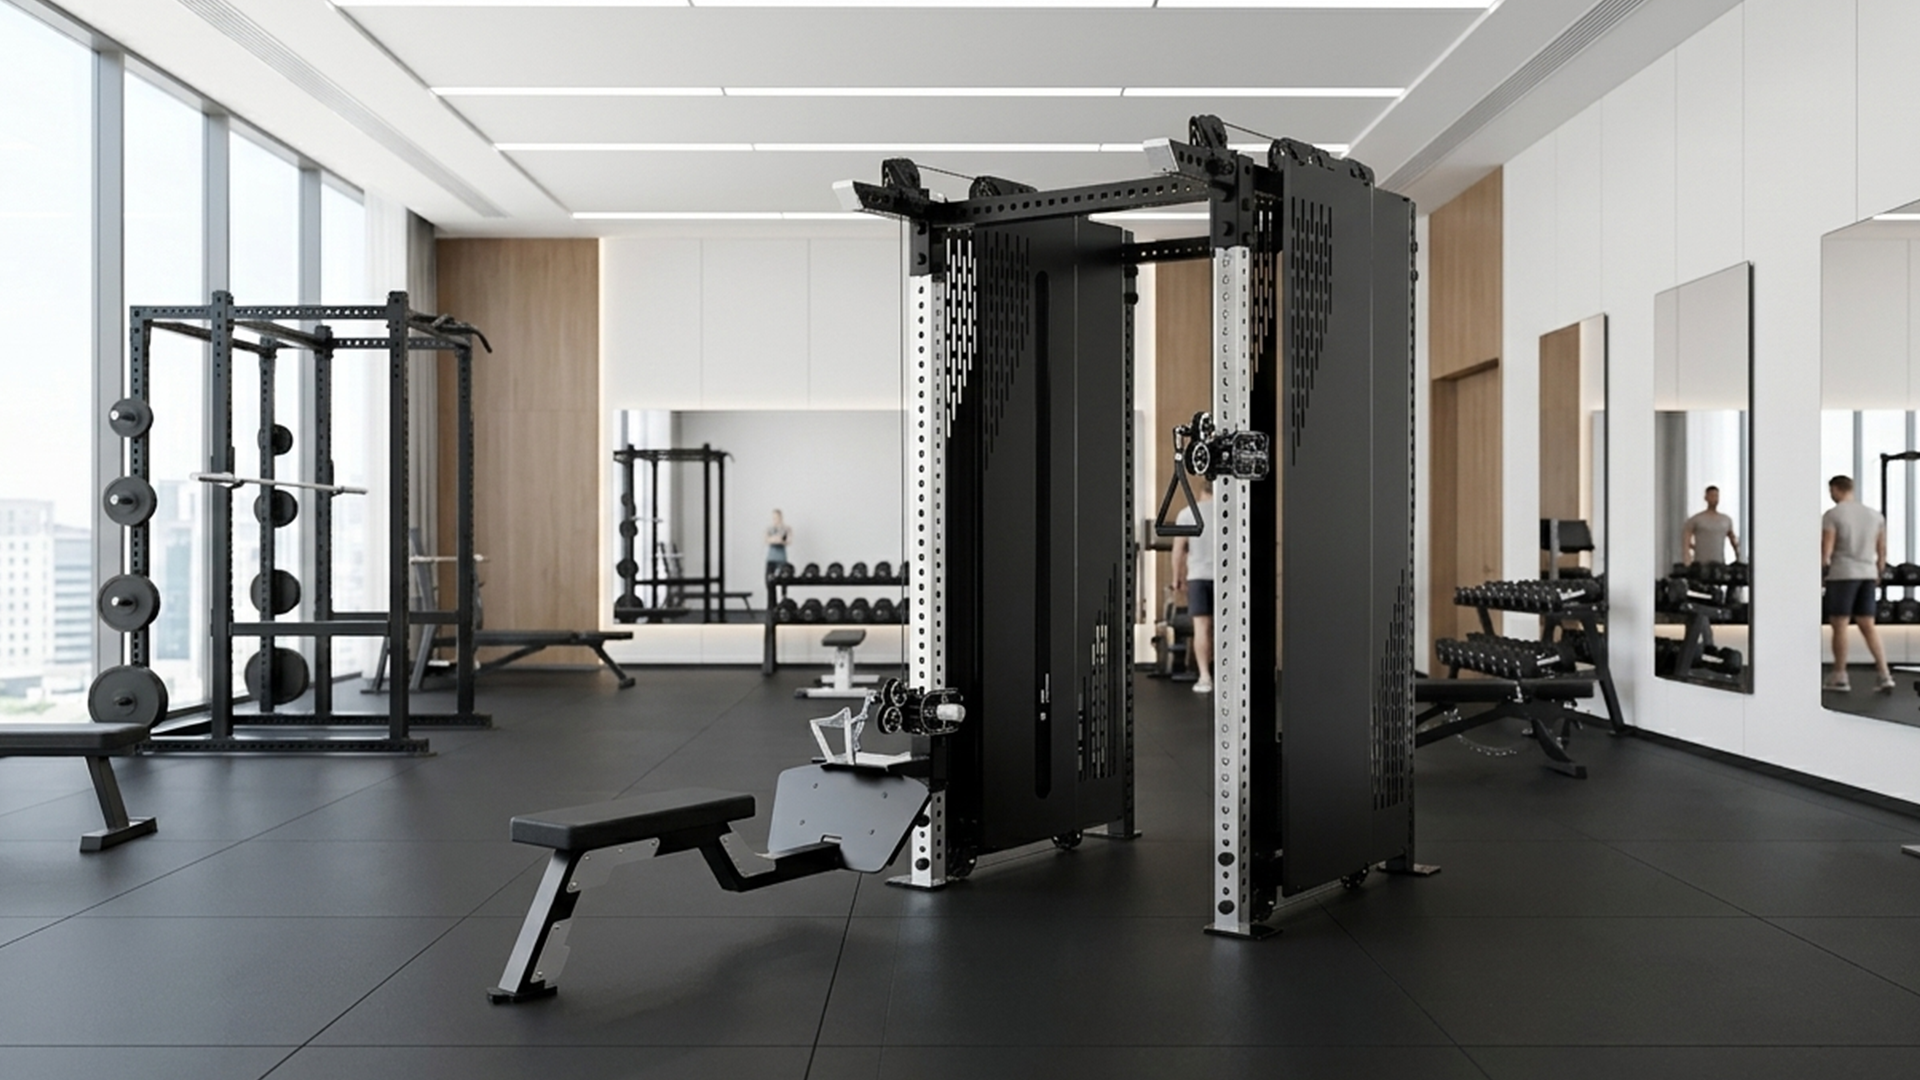
If your focus is muscle building and variety, versatility matters more than raw static weight capacity. You will want a rack that functions as a modular gym station.
The frame is just the beginning. The true utility of a power rack comes from its accessories. Do not make the mistake of buying a “bare bones” rack only to realize you need specific add-ons later.
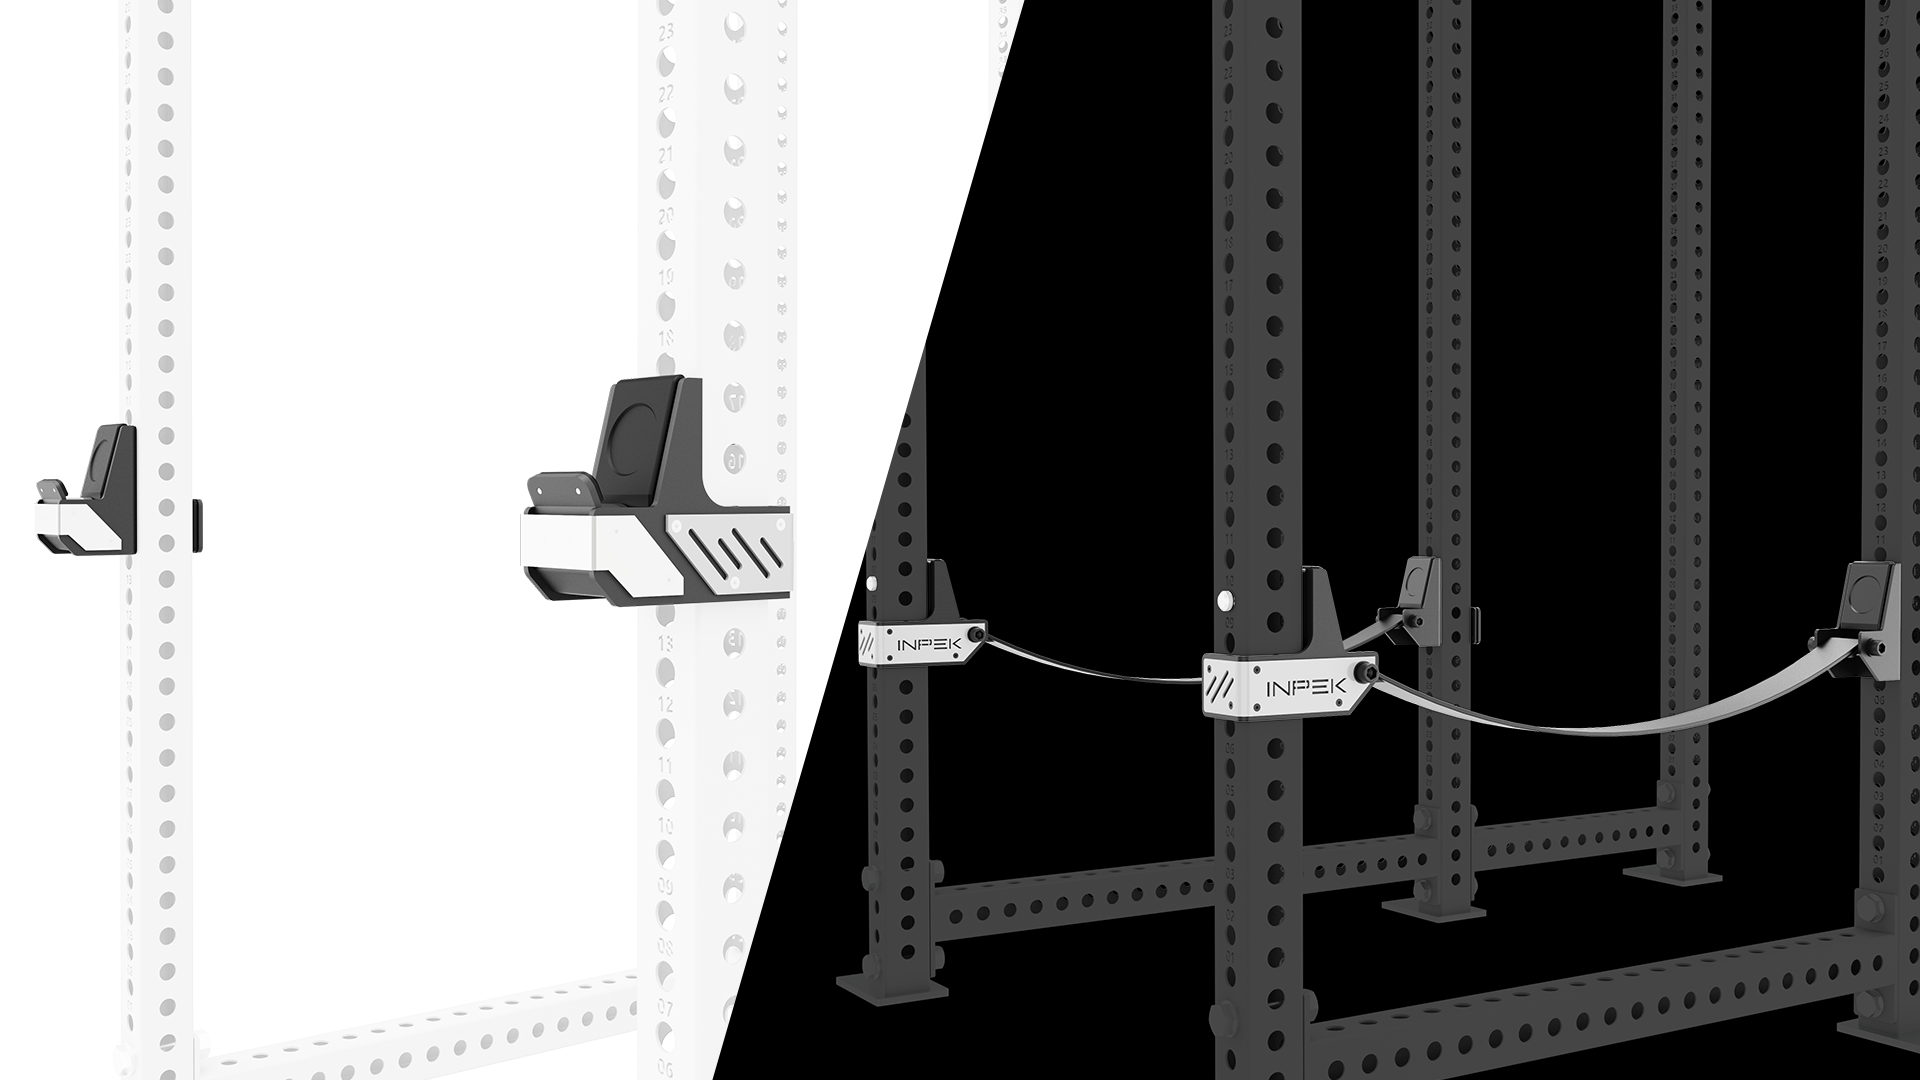
Safety Pins/Straps: These catch the bar if you fail a rep. Safety straps are becoming increasingly popular because they are softer than steel. If you dump a heavy bench press onto steel pins, the impact can damage the barbell’s knurling. Straps absorb the shock, protecting both your bar and your floor.
J-Cups: These hold the barbell for squats. Look for J-cups with UHMW plastic liners. This plastic protects the bar from scratching against the metal of the rack and reduces the clanging noise when you re-rack the weight.
If you chose a half rack or a compact unit, you need to maximize every square inch.
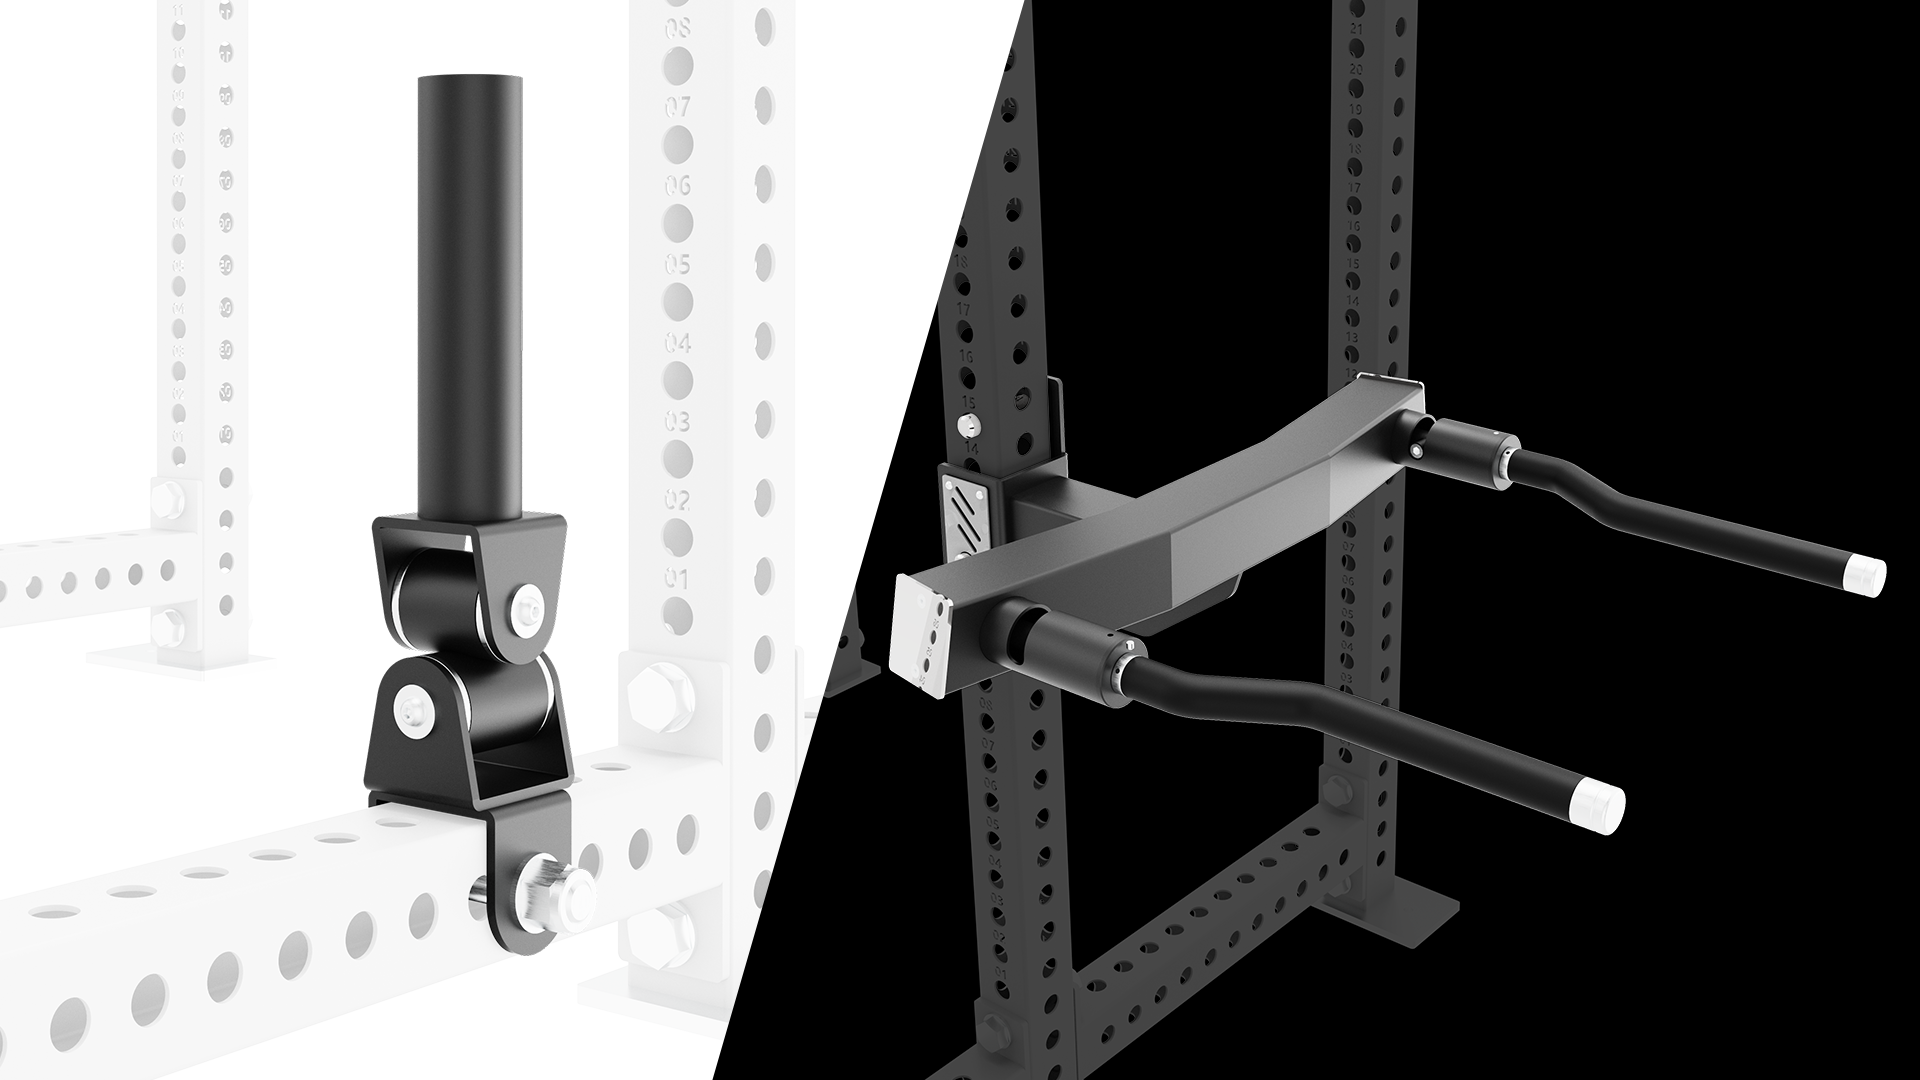
Landmine Attachment: This sleeve fits into one of the rack’s holes, turning a standard barbell into a pivoting lever. It is incredible for single-arm rows, presses, and core work. It effectively replaces several machines while taking up zero extra floor space.
Dip Station: A pair of handles that bolts onto the front of the rack allows you to perform tricep dips and leg raises. It is a simple addition that adds significant upper body volume to your routine.